Content
Standard Content Node Settings
For the main website node this is not that interesting (yet) but click on the Homepage node and you’ll see the following:
- Node ID – used internally by SiempreCMS
- Content ID – each time content is changed on a node it gets a new content ID.
- Template ID – the ID of the template used to render content.
- Date Created – date originally created
- Created By – original CMS user that created node
- Last Updated – last update date and time
- Last Updated By – which user performed the last update
- Page URLS – see below.
Page URLS
SiempreCMS provides total freedom on mapping Page URLs to the content nodes. It’s suggested that you make things as easy as possible for editor users by following the convention of matching the structure of the tree to your URL structure.
Page URLs are set on the Standard tab of each content node.
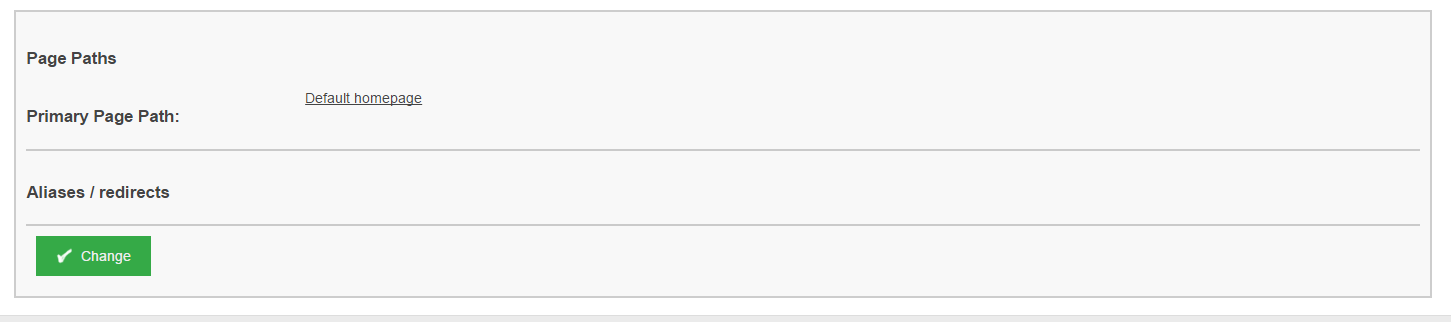
Changing the Page URL
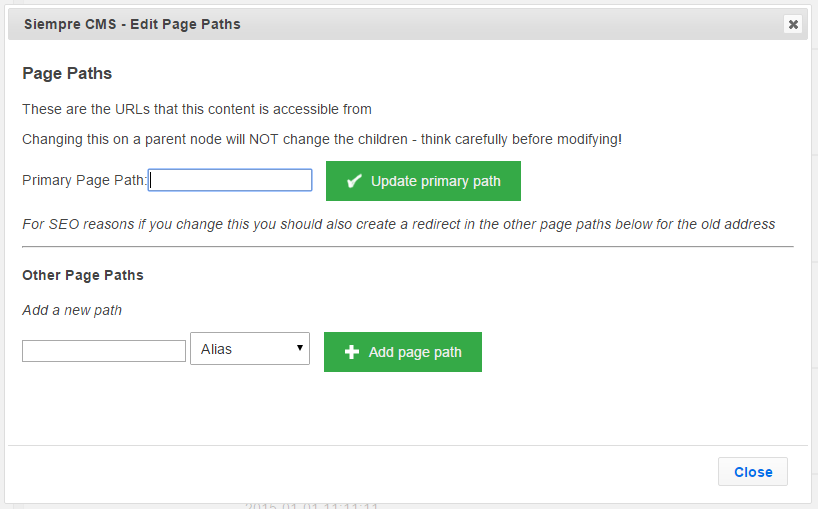
To change the page paths you click the Change button. A modal popup is shown. The Primary Page Path is the main address for the page. It’s only recommended to change this on setup – if you have incoming links to a page then changing its address could affect SEO (in this instance you should setup a “301 redirect” page path to redirect.
Setting up an alias, 301 or 302 Page URL
SiempreCMS also lets you create alternative page paths. An example would be to redirect mydomain.com/blog to mydomain.com/news. You can either set this as an alias (bad for SEO), a 301 (permanent redirect) or a 302 (temporary redirect). In reality you’re only likely to use the 301.
Contents Tab
If you click on the Contents tab you’ll see a single field is changeable - PageTitle. Clearly you still have some work to do to set up your site with SiempreCMS.
Adding new pages
To add a new page you right click in the relevant place in the content tree on the right and select Create.
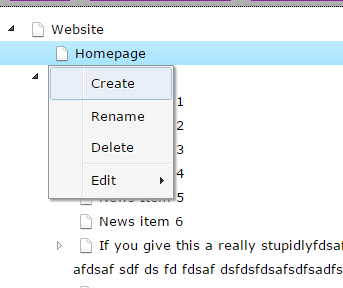
You can then enter a name – a screen will popup asking for you to select a template, this is the type of page that you’re creating. This should almost always be “Standard Page” though your developer will advise. Then click Create.
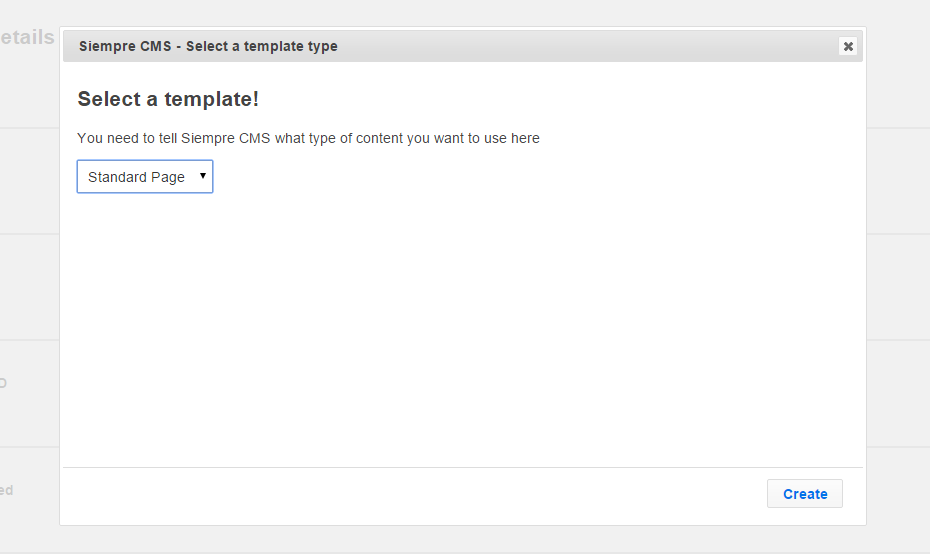
You can then enter content in the right hand edit panel and click Save and Publish.
NOTE: Your page won’t be visible unless you give it a page path. This can be done in the Standard tab (see the previous section). E.g. you can create content in advance of “launching” it – this is useful to prepare content before you’re ready for the world to see it.