Getting Started
Once you’re all setup it’s time to start creating your site. This guide uses a sample responsive “website” called initializr but you can use any HTML template. If you want to follow the example given use the download from here: http://www.initializr.com/ selecting the responsive example.
Logging In to the Back Office
To login visit yourdomain.com/admin e.g. locally this would be http://localhost/admin in your browser.
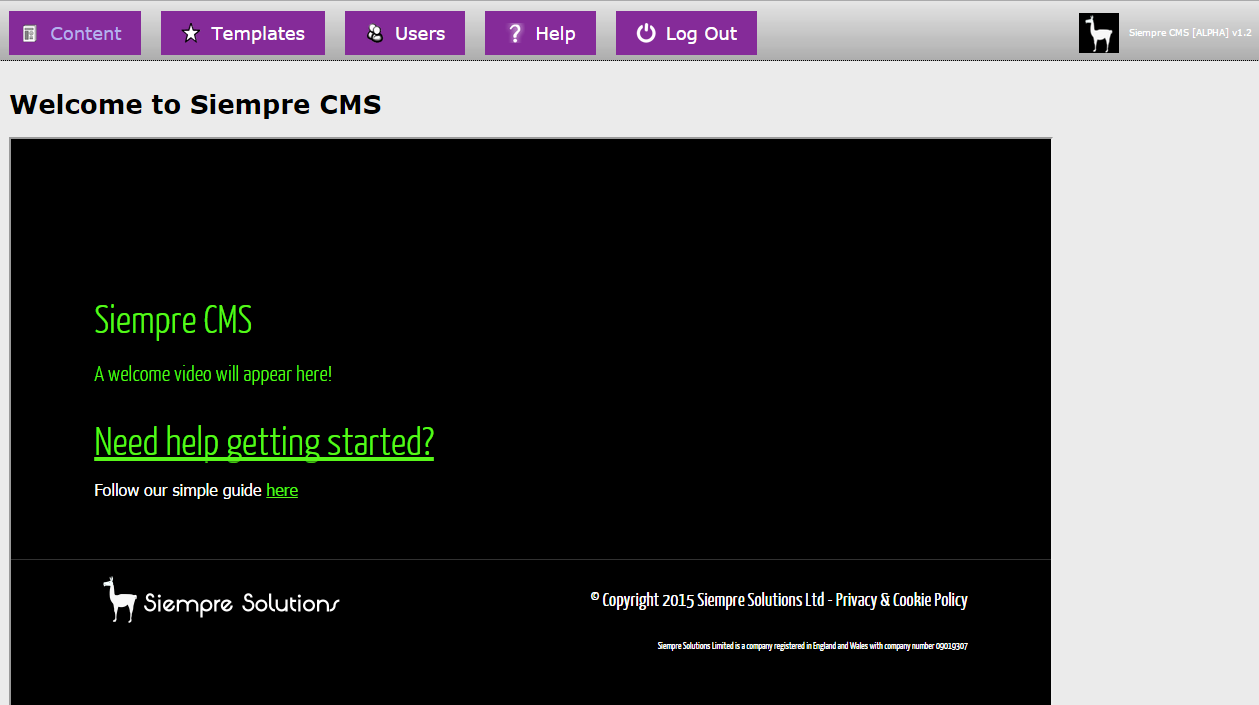
If you’re successful you’ll see the dashboard.
Content & General Site Structure
After logging in click the Content button in the top menu. This is the main area that your editors will use to manage content in SiempreCMS.
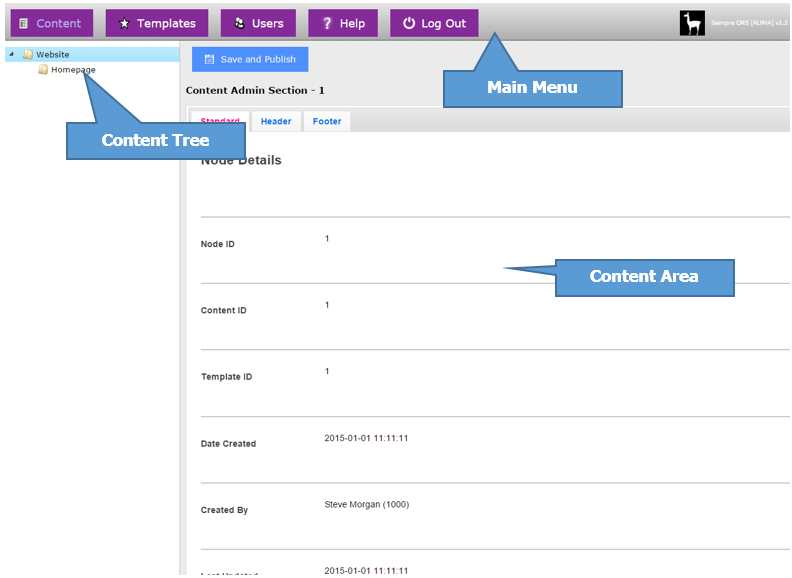
Main Menu
This is how you navigate around SiempreCMS.
Content Tree
Pages are set as nodes on a tree. When you first log in you only have Website with a Homepage node underneath, a fuller example is shown below.
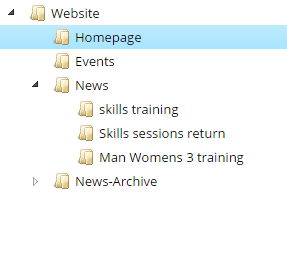
SiempreCMS does not necessarily enforce this tree structure to power all page URLs unlike some other CMSs though it’s suggested that this is the general structure that should usually be followed as it’s clearer for editors. Note how the standard structure is a Website node (which contains site wide settings) followed by all level one pages (e.g. the homepage, events, news). Level two pages would like use their parent node in the address
e.g. with the tree in the image above you’d have the following page URLs available;
- / (this is the homepage)
- /events
- /news
- /news/skills-training
- /news/skills-sessions-return
- /news/man-womens-3-training
- /news-archive
Content Area
As you click on different tree nodes the content here is loaded. There is where you can modify the content.
There are a number of tabs which are customised to the content node type but there is always a “Standard” tab where the main SiempreCMS settings are located.
Templates Introduction
If you now click on the Templates button in the main menu you’ll get the templates screen.
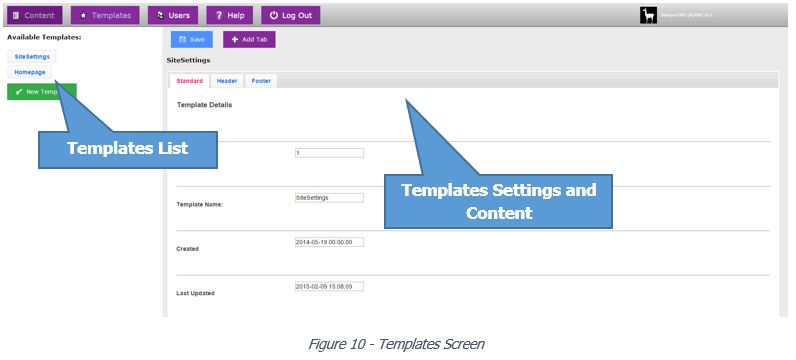
Here you get a list of the installed page templates and click on each one will load the tabs and the content fields for each template.
To import our sample site we’re going to start with the templates section.
Creating the Master Template
First we need to replace the blank starter template. Select the SiteSettings template by clicking on the button on the left-hand side and scroll down to the Content section on the right and you’ll see our basic template HTML mark-up and SiempreCMS tags and code.
<!DOCTYPE html>
<html lang="en">
<head>
<meta charset="utf-8">
{|@if( {|Page.PageTitle|} != "")
{|if|}
<title>{|Page.PageTitle|}</title>
{|/if|}
{|else|}
<title>{|Site.SiteTitle|}</title>
{|/else|}
|}
</head>
<body><div class
{|@childContent|}
</body>
<footer>
<h3>{|Site.FooterHeader|}</h3>
{|Site.FooterContent|}
</footer>
</html>
Take your website master template HTML (or initializr’s index.html if you’re following the tutorial) and paste this over the top of the existing content.
Now cut lines 40 (after the opening tag <div class="main wrapper clearfix">) down to line 63 (just before the line </div> <!-- #main --> ).
Paste this into your text editor of choice – we’ll use this later. In its place paste the code {|@childContent|}
You should have something that looks like this.
…
<div class="header-container">
<header class="wrapper clearfix">
<h1 class="title">h1.title</h1>
<nav>
<ul>
<li><a href="#">nav ul li a</a></li>
<li><a href="#">nav ul li a</a></li>
<li><a href="#">nav ul li a</a></li>
</ul>
</nav>
</header>
</div>
<div class="main-container">
<div class="main wrapper clearfix">
{|@childContent|}
</div> <!-- #main -->
</div> <!-- #main-container -->
Now scroll to the top and click the blue Save button.